

Accessing Virtual Receptionists
Go to the Admin Portal and sign in. Click the Phone System tab to expand it, then select Virtual Receptionists.
Creating an IVR
Click Add New, then work through the settings below.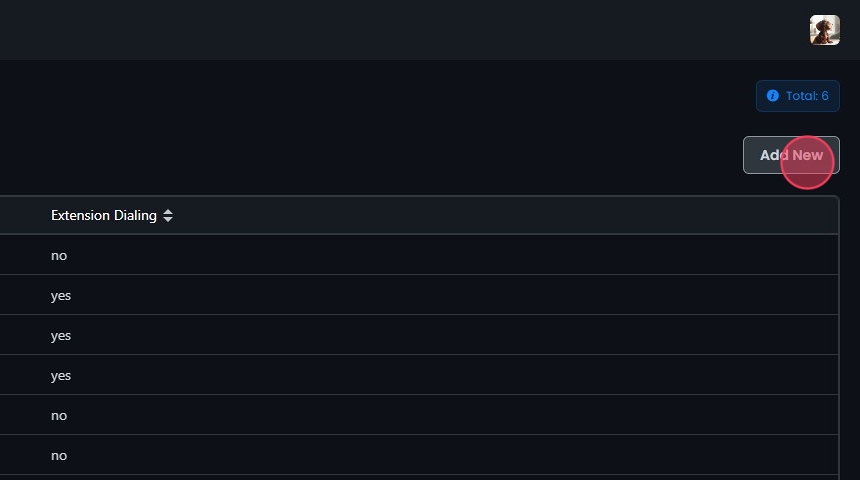 Wherever you set a destination on this page, Add a destination adds another one (it appears only for some destination types), you can click and drag to reorder destinations, and Delete removes one.
General Settings
- Enable speech detection: Callers can say a key option instead of pressing the key.
- Enter name: A name for the IVR.
- Enable extension dialing: Callers can dial extensions directly.
- Branch: Optionally assign a branch so you can filter and sort IVRs by it.

Timeout Settings
- On timeout: The destination type and destination for calls that time out.
- Select timeout: The timeout, in seconds.

Wrong Key Press Settings
- If Wrong Key Pressed: The destination type and destination for callers who press an incorrect key.

Loop Settings
- Enable loop on timeout: Go back to the menu when the caller times out.
- Enable loop on wrong key: Go back to the menu when the caller presses a wrong key.
- Max loops: The maximum number of times the menu repeats.

Media Settings
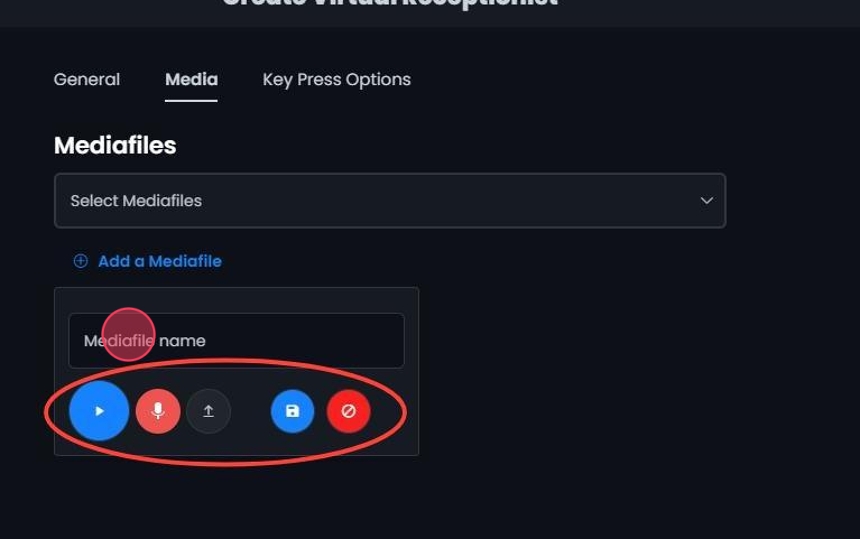
On the Media tab, choose the greeting from the dropdown. Choose a file you’ve already saved in Media Files. You can add more than one media file to the greeting. Files play back-to-back in the order they are listed, which is useful when you want an announcement to play after the main greeting without creating a combined recording. To record or upload a new file, click Add a Mediafile.

- Playback: Plays the media file.
- Press and Hold To Record: Click and hold to record a message.
- Upload File: Adds an existing audio file.
- Cancel Changes: Reverts to the previous settings.
- Enter a name: Type a name in the Mediafile name field before saving.
- Save Changes: Saves the recorded or uploaded file. It then appears in the dropdown.
Key Press Options
On the Key Press Options tab, choose a destination type and destination for each key (0-9, *, #).
Saving an IVR
Click Save, then Yes to confirm.
Editing an IVR
- Click the IVR, or click the Edit button next to it.
- Make your edits.
- Click Save, then Yes to confirm.

Deleting an IVR
Click the Delete button next to the IVR, then click Yes to confirm.
Search, Sort, and Export Virtual Receptionists
- Search: Type a name or keyword in the search field to filter the list.
- Sort: Click the sort icons next to column headers to sort ascending or descending.
- Export: Click Export next to the search field to download the list as a CSV file.
