Call blocking allows administrators to block incoming calls from specific phone numbers on an account. This guide provides step-by-step instructions for managing call blocking in the Omnia Admin Portal.
Call blocking works one number at a time — calls from exactly the numbers on your blocked list are rejected, and that’s the only filter the system applies. There is no automated, network-wide spam filter you can turn on. Spam callers commonly rotate caller IDs (a tactic called neighbor spoofing) using a large pool of random numbers, so a number you block today may not be reused tomorrow. Block the specific numbers you can identify, but expect to keep adding new ones as patterns shift.
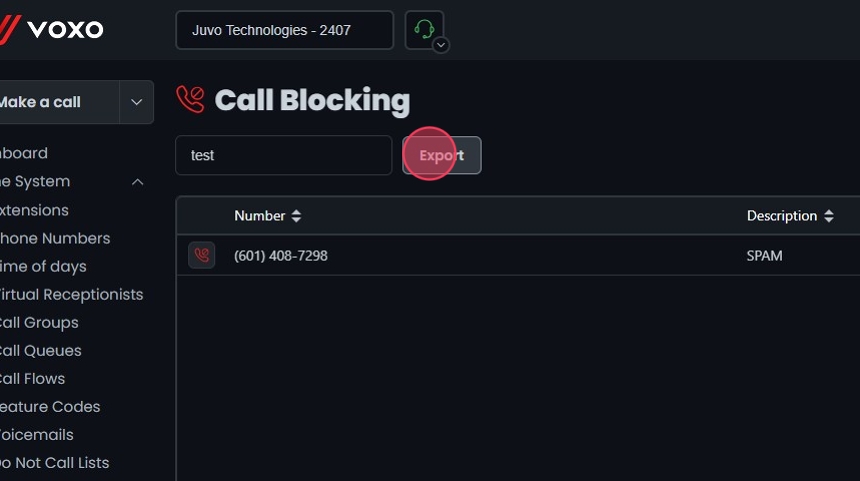
Accessing Call Blocking
- Navigate to Call Blocking: Go to the Admin Portal and sign in. Click the Phone System tab to expand it, then select Call Blocking.

Adding a New Blocked Number
- Add a New Blocked Number:
- Click Add New.
- In the Enter number field, type the phone number you want to block.
- In the Enter reason for blocking field, type the reason for blocking this number.
- Click Create.
- Click Yes to confirm and save.

Editing a Blocked Number
- Edit a Blocked Number:
- Click on the blocked number entry you want to edit or click the Edit button next to it.
- Make your edits.
- Click Save.
- Click Yes to confirm.

Deleting a Blocked Number
- Delete a Blocked Number:
- Click the Delete button next to the Blocked Number.
- Click Yes to confirm the deletion.

Search and Sort
- Search Call Blocking:
- Search Bar: Quickly find specific items by typing the name or a keyword in the search field. The system will filter the list based on your search input, displaying the relevant results.
- Sort: Click the sort icons next to the column headers to arrange items in ascending or descending order.

Exporting Call Blocking
- Export Call Blocking:
- Click the Export button next to the search field.
- The system will download a list of the items in CSV format.