10DLC (10-digit long code) messaging campaigns are designed for business messaging over standard 10-digit phone numbers. They provide a trusted and reliable method for businesses to communicate with customers via SMS. This guide provides step-by-step instructions on how to create, view, and edit 10DLC messaging campaigns within the Omnia Admin Portal.
This document applies to the following user roles within Omnia:Account Administrator
Partner Administrator
Accessing 10DLC Messaging
- Navigate to 10DLC Messaging:
Go to the Admin Portal and sign in.
Click the Account tab to expand it, then select 10DLC Messaging.
Prerequisites: Ensure the SMS Brand registration process is completed for the account. For steps on how to register an SMS brand, please see this document: SMS Brand Registration.

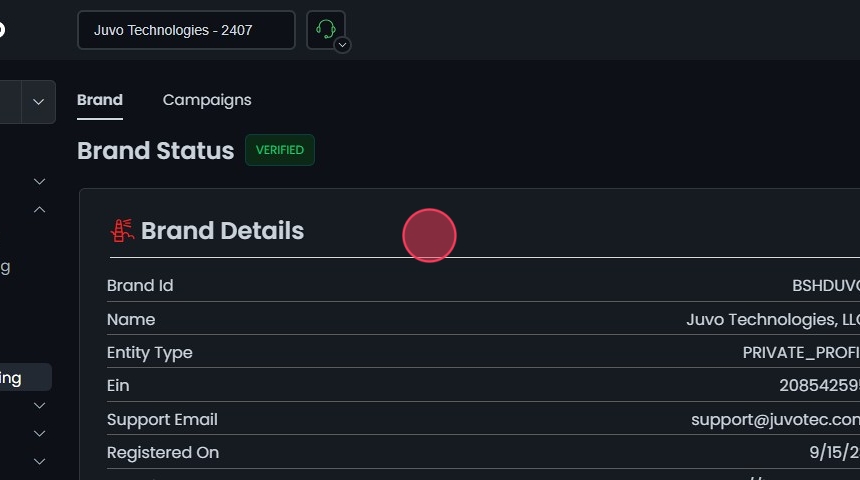
- Navigate to the Brand Status Section:
- Click on the Brand Status tab.
- Verify that your brand status is marked as VERIFIED.

- Viewing Brand Details:
- In the Brand Details section, you can view important information such as:
- Brand ID
- Name
- Entity Type
- EIN
- Support Email
- Registration Date
- Website
- Address
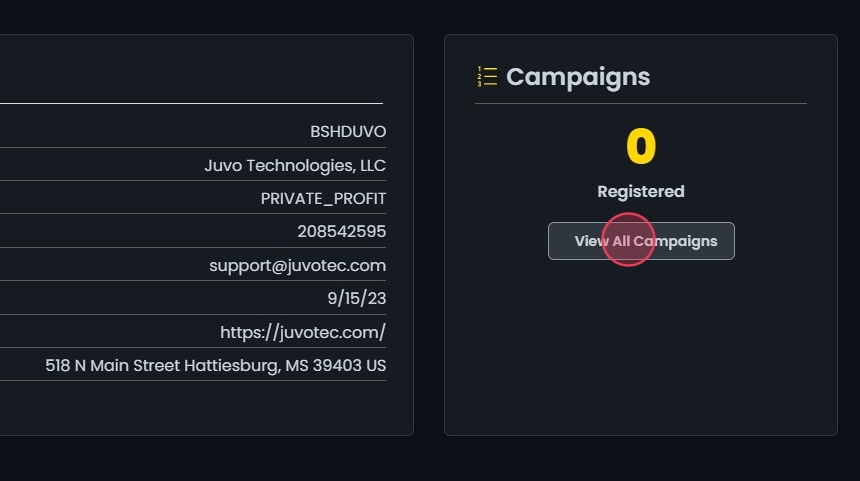
- Managing Campaigns:
- Click on View All Campaigns under the Campaigns section.
Campaign Overview
-
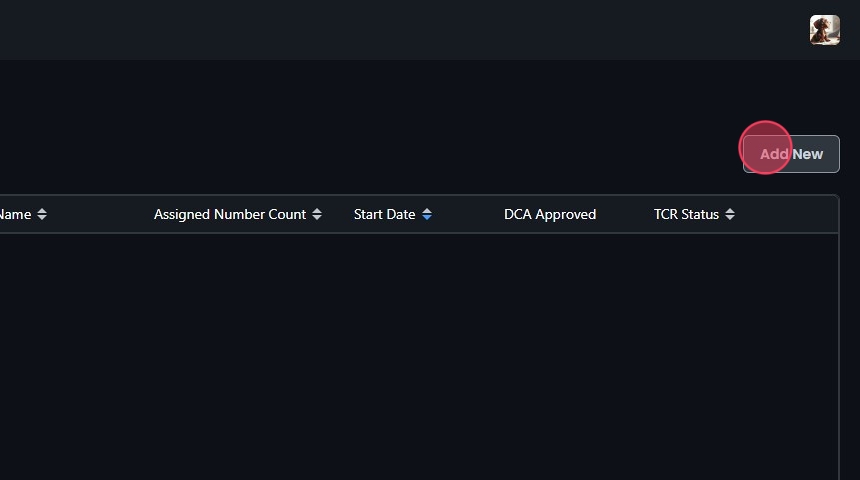
Campaigns Tab Overview:
In the Campaigns tab, you can view and manage all your 10DLC messaging campaigns. This tab displays a list of all campaigns along with the following details:
- Campaign ID: Unique identifier for the campaign.
- Brand ID: Identifier for the brand associated with the campaign.
- Brand Name: Name of the brand associated with the campaign.
- Assigned Number Count: Number of phone numbers assigned to the campaign.
- Start Date: The date when the campaign starts.
- DCA Approved Status: Indicates if the campaign is approved by the Direct Connect Aggregator (DCA).
- TCR Status: The status of the campaign with The Campaign Registry (TCR).
You can sort the campaigns by clicking on the column headers, which have sort icons next to them.

-
Features in the Campaigns Tab:
Search: Use the search bar to quickly find a specific campaign.
Export: Export the list of campaigns for further analysis or reporting.

Create a Campaign
- Add New Campaign:
- Click the Add New button in the Campaigns tab.
- Enter Campaign Details:
- Description: Provide a description of what the campaign will be used for.
- Message Flow: Describe how a consumer opts into the campaign, ensuring the call-to-action is clear and informs the consumer of the nature of the program. List all opt-in methods if multiple methods are used.

- Add Sample Messages:
- Sample Message 1: Provide a sample message. For example, “This is a test. Reply STOP to opt out.”
- Click Add Sample Message to include additional sample messages if needed.

- Campaign and Content Attributes:
- Opt-in Keywords: Enter keywords that consumers can text to opt-in, such as “START,” “YES,” “SUBSCRIBE.”
- Opt-in Message: Craft an opt-in message that includes the brand name, confirmation of opt-in enrollment, help information, and how to opt-out. For example, “Juvo Technologies: Welcome! Msg & data rates may apply. Reply STOP to opt out. Reply HELP for help. Messaging frequency may vary.”
- Opt-out Keywords: Enter keywords that consumers can text to opt-out, such as “STOP.”
- Opt-out Message: Create an opt-out message that acknowledges the opt-out request and confirms that no further messages will be sent. For example, “Juvo Technologies: You have opted out of receiving messages from Juvo Technologies.”
- Help Keywords: Enter keywords that consumers can text to get help, such as “HELP.”
- Help Message: Provide a help message with additional support contact information. For example, “Juvo Technologies: Help at support@. Msg & data rates may apply. Reply HELP for help. Reply STOP to opt out.”
- Manage Keywords:
- To enter new keywords, type in the field and select it from the dropdown.
- To remove a keyword, click the x button next to the keyword.

Saving the 10DLC Messaging Campaign
- Save a 10DLC Messaging Campaign:
- Click the Create button.
- A confirmation message will appear.

Approval timeframes
After you submit, brand and campaign reviews each have their own timeline. No SMS can send until both are approved.
- Brand approval is often automated. If your business details match public records (EIN, address), the brand can verify within 24 hours, but a manual review can extend this to about 7 days.
- Campaign approval is run by The Campaign Registry and typically takes 3 to 7 business days under normal conditions. During high-volume periods it can stretch toward 2 weeks.
You can check the current state at any time on the Brand Status tab and the Campaigns tab. You’ll also receive an email notification when each step completes.
Common reasons campaigns get declined
Most rejections come from a small set of issues. Fixing these before you submit avoids resetting your place in the review queue:
- Privacy policy and SMS terms missing from your website. Your business website needs a publicly visible privacy policy and SMS terms and conditions that mention how you collect numbers, how you use them, and that message and data rates may apply.
- Vague or unclear control/message flow. The Message Flow field should describe exactly how a consumer opts in (web form, in-store sign-up, paper consent, etc.) and what they will receive. Generic descriptions are a common decline reason.
- Mismatched business details. If the EIN, legal name, or address on the brand doesn’t match registry data, the application is flagged for manual review or denial.
If your campaign has been pending longer than 7–10 days, contact support so we can check whether it’s stuck or needs a specific correction.
Why outbound SMS isn’t sending
If messages won’t go out, work through these in order — most failures come from one of them:
- Brand and campaign aren’t both approved. No SMS sends until your brand shows VERIFIED and your campaign is approved. Check both on the Brand Status and Campaigns tabs above.
- You’re sending from an extension that isn’t SMS-enabled. Not every extension can send SMS — confirm the one you’re sending from is enabled.
- Multiple locations each need their own SMS-enabled extension and login.
- A newly registered number is still provisioning. A number can take 1–2 business days after registration before its first message sends.
If your brand and campaign are both approved, you’re sending from the correct extension, and you still get a “cannot send from the provided number” error after 2 business days, contact support.
Campaign Management
- Edit a Campaign:
- Click on the campaign you want to edit or click the Edit button next to it.
- This will open the Edit Campaign screen, displaying the campaign details such as Register Date, Share Date, Use Case, and Sharing Status.
- After making the necessary edits, click Save.
- A confirmation message will appear.

- View Campaign Numbers:
- Click the view numbers icon next to the campaign to see the list of phone numbers assigned to the campaign.
- The Phone Numbers in Campaign window will display the numbers and their provisioned dates.
- Sort: Click the sort icons next to the column headers to arrange items in ascending or descending order.

- Delete a Campaign:
- To delete a campaign, click the delete icon next to the campaign.
- Confirm the deletion by clicking Yes in the confirmation dialog.
