This document provides a step-by-step guide for managing phone books within the Omnia Admin Portal.
This document provides a step-by-step guide for managing phone books within the Omnia Admin Portal. It includes instructions for accessing, adding, editing, deleting, searching, and bulk importing contacts. Phone books populate the Directory on auto-provisioned Yealink and Polycom desk phones — if a phone’s Directory shows as blank or “None,” check that the assigned phone book has entries.
This document applies to the following user roles within Omnia:Account Administrator
Partner Administrator
Hover over Import from csv and click Download example csv to get a template to add your contacts in bulk to the phone book.
Complete the template, save it, and click Import from csv to upload the spreadsheet.
Map CSV Fields:
Select First Name, Last Name, Phone,Email, and Company from the dropdown menus for each corresponding column.
All listed fields must be selected to continue.
Click Reset to remove the CSV and reupload if needed.
Click Add.
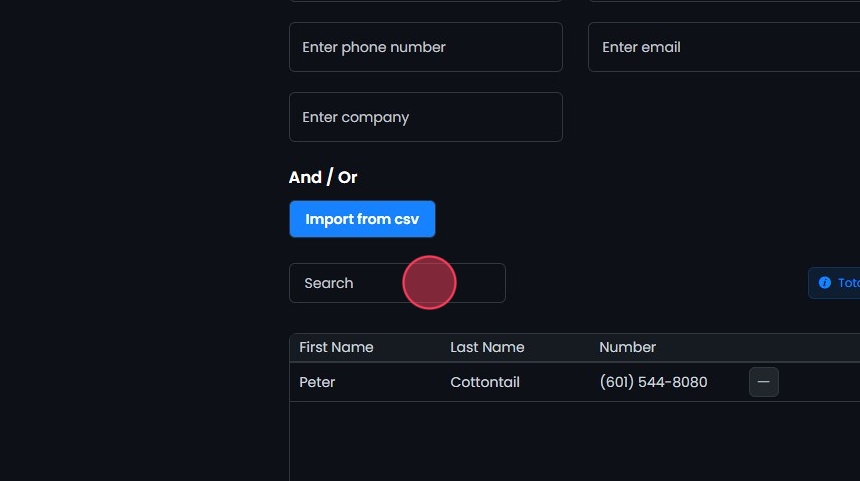
Added entries will appear in the list below.
Remove an Entry:
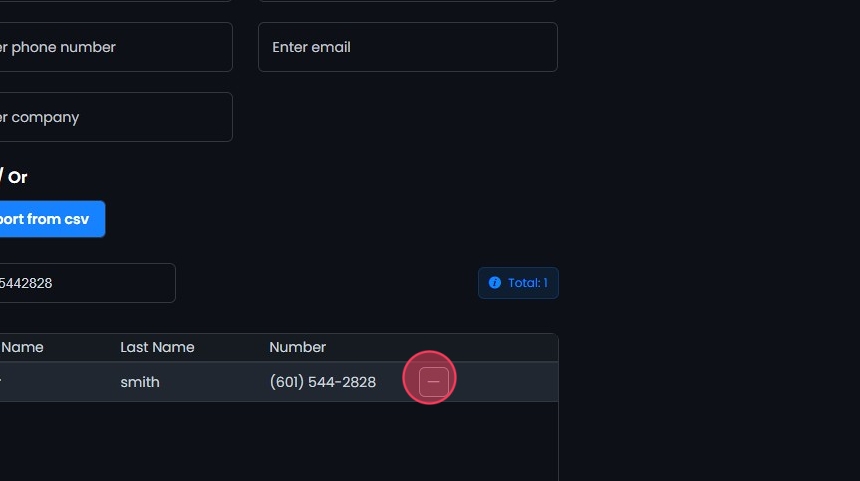
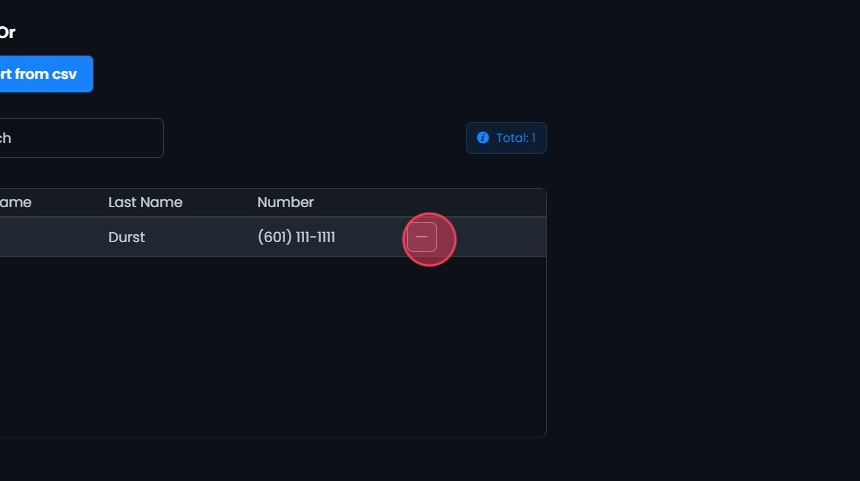
If you need to remove a phone number entry from the list after selecting add, clicking Remove number (-) will remove an entry before saving.
Save the Phone Book:
Once you have completed adding entries, click Create.
After you create a phone book, assign it to each desk phone so the directory pushes to the device. The assignment control lives under Phone System > Devices, not on the Phone Books page.
Go to Phone System, then Devices, and click the device you want to update.
Under the Phonebook dropdown, select the phone book you created.
Save. The phone pulls the new directory on its next reboot or re-provision.
Search Bar: Quickly find specific items by typing the name or a keyword in the search field. The system will filter the list based on your search input, displaying the relevant results.
Sort: Click the sort icons next to column headers to arrange items in ascending or descending order.
Was this page helpful?
Assistant
Responses are generated using AI and may contain mistakes.