A Call Campaign allows you to systematically contact a list of numbers, managing details like scheduling, caller ID, and call handling.
A Call Campaign allows you to systematically contact a list of numbers, managing details like scheduling, caller ID, and call handling. This is useful for sales, customer service follow-ups, and other organized call needs. This guide provides step-by-step instructions for accessing and managing call campaigns in the Omnia Admin Portal, including adding, scheduling, defining calling hours, handling connections, managing numbers, editing, searching, and exporting campaigns.
This document applies to the following user roles within Omnia:Account Administrator
Partner Administrator
General Settings:Always record: Check this box if you want to record all calls in this campaign.
Enter name: Type a descriptive name for your campaign (e.g., “June Sales Outreach”).
State: Set the initial state of the campaign (e.g., READY, PAUSED).
Time zone: Select the appropriate time zone for your campaign. Default is “Use account default.”
Select caller ID: Choose the caller ID that will be displayed to call recipients.
Hover over Import from csv and click Download example csv to get a template. Complete the template, save it, and click Import from csv to upload the spreadsheet.
Map CSV Fields:
Select Number and Description from the dropdown menus for each corresponding column.
All listed fields must be selected to continue.
Click Reset to remove the CSV and reupload if needed.
Click Add.
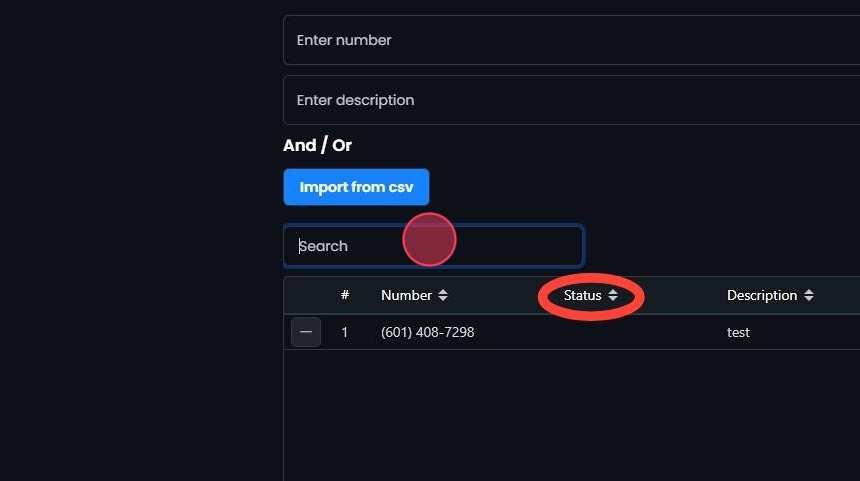
Added entries will appear in the list below.
Remove an Entry:
If you need to remove a phone number entry from the list after selecting add, clicking Remove number (-) will remove an entry before saving.
Save the Call Campaign:
Once you have completed adding entries, click Create.
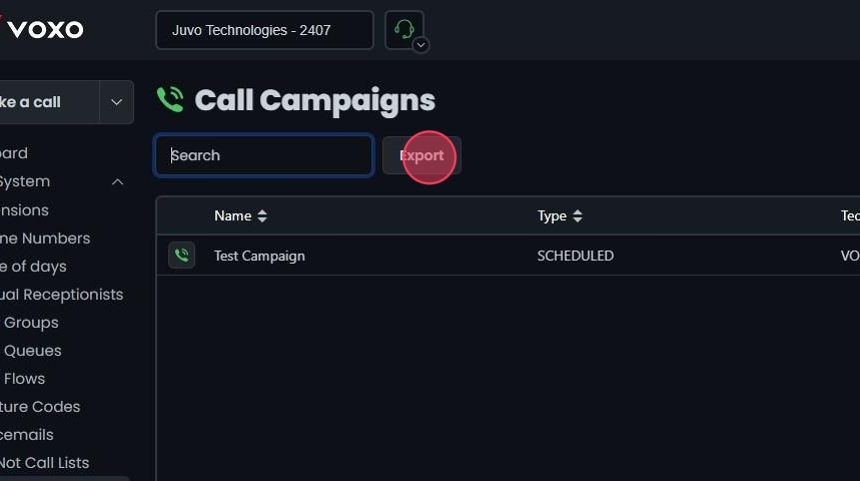
Search Bar: Quickly find specific items by typing the name or a keyword in the search field. The system will filter the list based on your search input, displaying the relevant results.
Sort: Click the sort icons next to column headers to arrange items in ascending or descending order.