Email Invitation
Your email invitation includes:- Extension Number: Your unique extension identifier.
- Login Information: Your username and password.
- Omnia Desktop URL: The link to the Omnia Desktop Experience.
- Mobile Apps: App Store and Google Play buttons for downloading VOXO Connect.
- Quick Dial Chrome Plugin: A link to install the plugin, which lets you dial from websites through the Omnia portal.
- Support: A link to email support.
Logging In
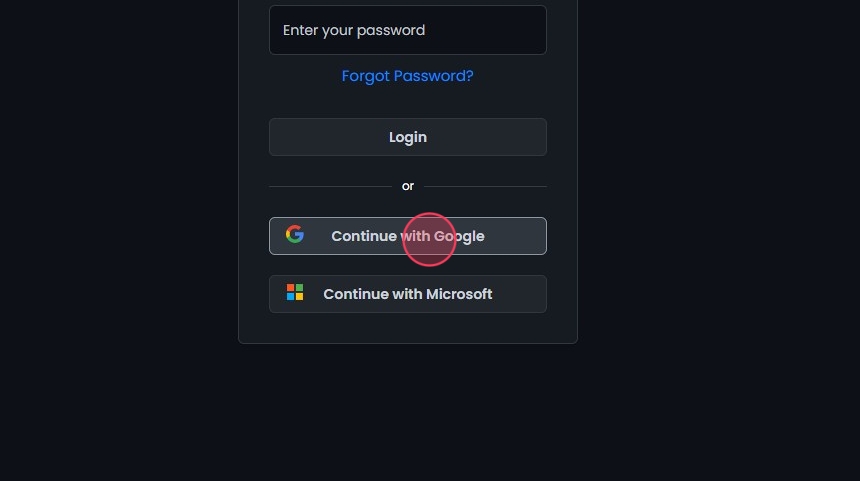
Go to the Admin Portal, then sign in one of three ways. Username and password: Enter the username and password from your email invitation, then click Login.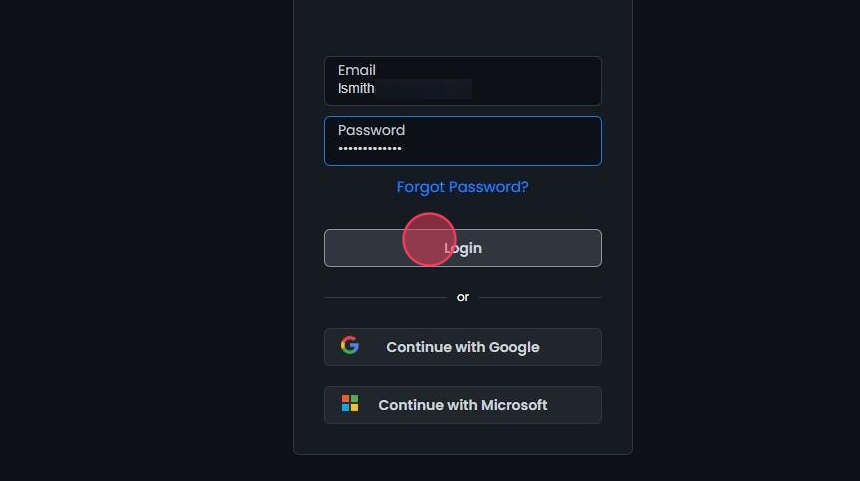 Microsoft account: Click Continue with Microsoft.
 Google account: Click Continue with Google.
Switching Between User Panel and Admin Portal
To go to the Admin Portal, click Go to admin at the bottom of the user panel menu. To go back to the user panel, click Go to user panel at the bottom of the admin panel menu.

Switching Between Accounts
If you’re an admin assigned to multiple accounts, or a partner admin, you can switch accounts from the dropdown at the top of the screen.- Click the current account name at the top of the screen to open the dropdown menu.

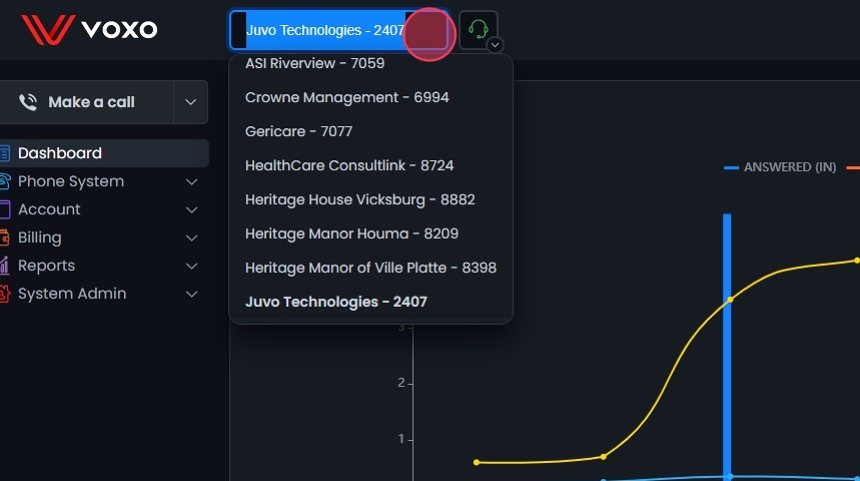
- Scroll through the list and click the account you want to manage.
 Or type the account name or account number in the search field, then click the account when it appears.


Relations and Audit Trail
When you edit an item such as an extension, call queue, or voicemail, two buttons show how it connects to the rest of the system. If you see either icon while editing an item, click it. Show Relations lists the elements linked to the item. For example, open an extension to see its related phone numbers, call groups, and call queues. Show Audit Logs shows who changed the item and when: the update time, the email of the user who made the change, and the action taken. It covers the last 10 days of activity. Click Export to export the log.

Sort Items
Throughout the portal, click the sort icons next to column headers to sort ascending or descending.
Total Count Information
Throughout the portal, the total count icon shows how many items are in a list, such as call queues or phone numbers.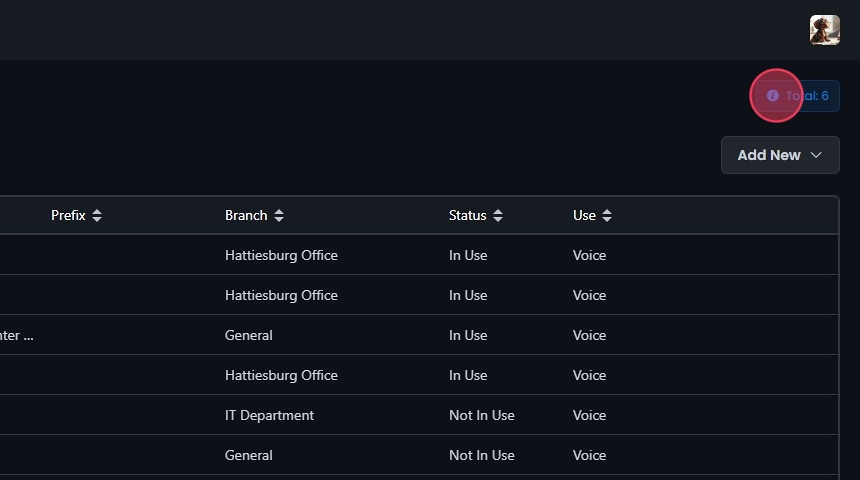
Subscribe to the Status Page
Subscribe to the status page to get updates on VOXO services and incidents:- Go to VOXO Status.
- Click Subscribe to Updates at the top right of the page.
- Choose how you want to receive updates: Email, Slack, Atom Feed, or RSS feed.
- Follow the prompts to confirm your subscription.
 For more about VOXO products and support, visit the VOXO Website. Other useful links: