This guide provides step-by-step instructions on how to access and navigate the Omnia Admin Dashboard.
Accessing the Admin Dashboard
- Access the Admin Dashboard:
- Go to the Admin Portal and sign in.
- If you see the User Panel, click Go to admin to switch to the admin view.
- Click Dashboard.

Call Report Overview
-
- Understanding the Call Report Graph:
- The Y-axis on the left side represents the number of presented calls (inbound).
- The Y-axis on the right side represents the number of calls (outbound).
- The X-axis represents the date range.

- Color-Coded Call Statuses:
- Blue: ANSWERED (IN)
- Orange: NO ANSWER (IN)
- Yellow: ANSWERED (Outbound Calls)
- Light Blue: NO ANSWER (Outbound Calls)

- Date Range Selection:
- Use the options to filter the data displayed on the graph:
- Last 10 Days
- Last 30 Days

- Hover for Details:
- Hover over data points on the graph to see detailed information about the calls on a specific date.

System Status
- System Status:
- Displays the status of various services:
- Fax: Indicates the status of the fax service.
- Mobile: Indicates the status of the mobile service.
- Voice: Indicates the status of the voice service.
- Features: Indicates the status of additional features.
- SMS: Indicates the status of SMS service.
- PSTN: Indicates the status of the PSTN service.
- All services show a green checkmark if they are operational.

Users
- Users:
- Displays the total number of users in the account (e.g., 5 Users).
- Click View All Users to see detailed information about each user.

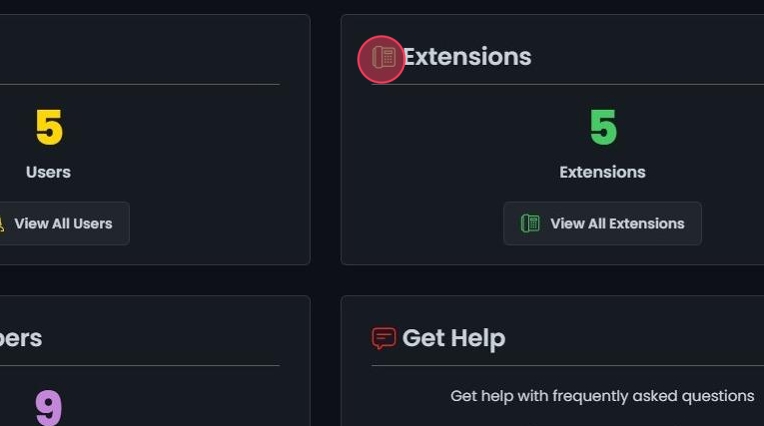
Extensions
-
Extensions:
- Displays the total number of extensions in the account (e.g., 5 Extensions).
- Click View All Extensions to see detailed information about each extension.
Port Your Number
- Port Your Number:
- Allows admins to transfer their existing numbers to VOXO.
- Click Create Request to start the porting process.

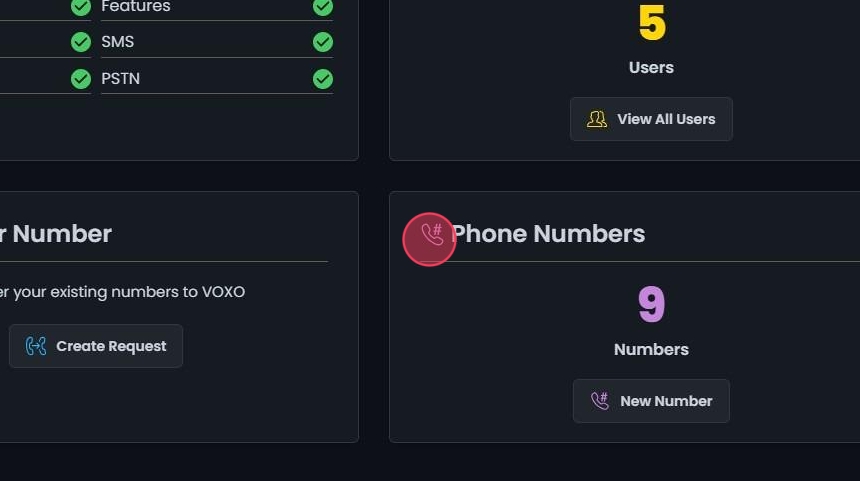
Phone Numbers
-
Phone Numbers:
- Displays the total number of phone numbers in the account (e.g., 9 Numbers).
- Click New Number to add a new phone number.
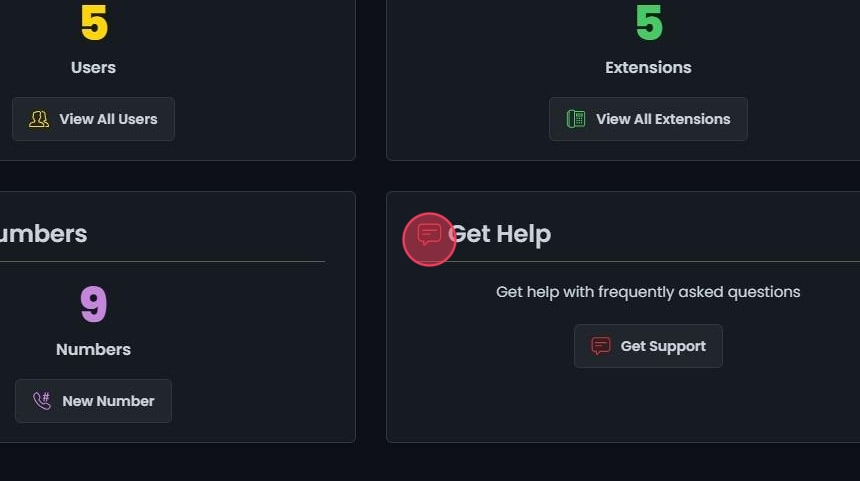
Get Help
- Get Help:
- Provides access to support and frequently asked questions.
- Click Get Support to contact support or view FAQs.