
This guide provides a step-by-step overview of using Omnia: VOXO Meet for meetings. VOXO Meet is a cloud-based video conferencing service that lets you meet with anyone, anywhere, on any device.
Alert: VOXO Meet Availability:
VOXO Meet is available for all users with video meetings enabled on their extension.
Starting a Meeting
1. Starting a Meeting:
- To start a meeting, click Start meeting.

Providing Meeting Details
2. Sharing a Meeting:
- To share meeting details, click Copy meeting info and send these details to another party.
- To join the meeting yourself, click Join Meeting.

Joining the Meeting
3. Preparing to Join a Meeting:
- Enter your name and select Continue.
- You will see a dialog box asking, "Are you ready to join?" Here, you can:
- Turn your camera on/off (Ctrl + E).
- Mute/unmute your microphone (Ctrl + D).
- Change background effects.
- Reduce mic noise.
- Adjust additional settings like changing your name before joining the meeting.
- These options are also available once you are in the meeting.

Selecting Devices
4. Selecting Audio and Video Devices:
- Camera: Click the dropdown to select your camera.
- Microphone: Click the dropdown arrow to select your microphone and click Test your mic.
- Speakers: Click the dropdown to select your speakers and click Play test sound.
- Click Join to enter the meeting.

Meeting Controls
5. Managing Audio and Video During a Meeting:
- Turn your camera on/off: Click the camera button or press (Ctrl + E).
- Mute/unmute your microphone: Click the microphone button or press (Ctrl + D).

Additional Features
6. Viewing Active Participants:
- Click People to see all active participants.

7. Sending a Chat Message:
- Click Chat to send a chat message.

8. Using Reactions:
- Click React to pick an emoji, like a thumbs up.

9. Raising Your Hand:
- Click Raise to raise your hand, and click again to lower it.

10. Sharing Your Screen:
- Click Share to share your screen. Options include Chrome Tab, Window, or Entire Screen. You can also share tab audio.

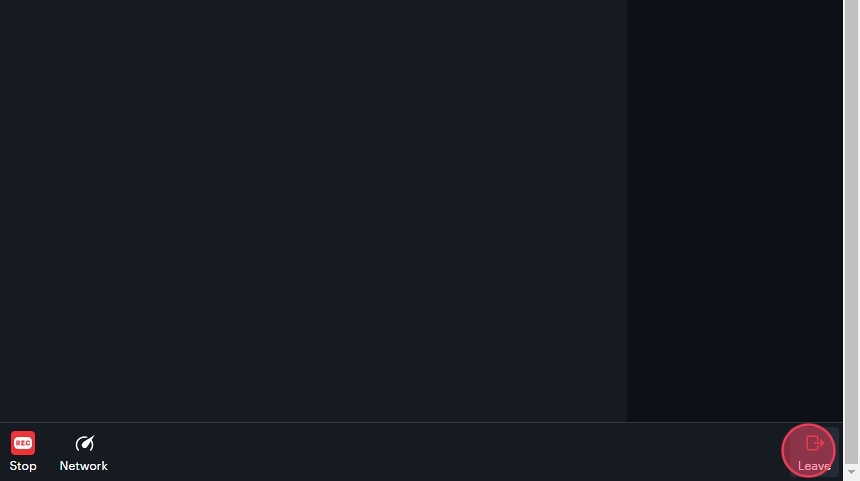
Recording and Network
11. Recording the Meeting:
- To record the meeting, click Start recording. Click Stop recording when done.

12. Viewing Network Status:
- Click Network to view your network status, including packet loss and download/upload rate.

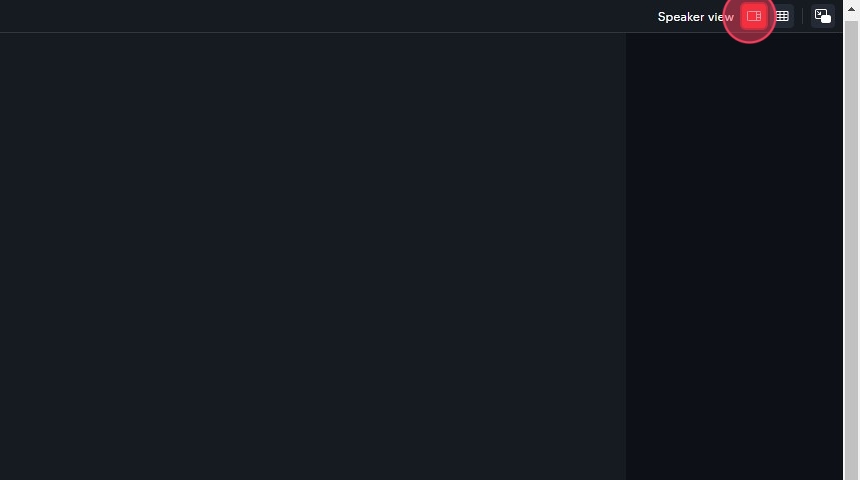
View Options
13. Switching to Grid View:
- Click Grid View to switch to the grid view.

14. Switching to Speaker View:
- Click Speaker View to switch to the speaker view.
15. Using Picture-in-Picture View:
- Start Picture in Picture: Click this to begin a picture-in-picture view.
- Stop Picture in Picture: Click this to end the picture-in-picture view.

Ending the Meeting
16. Leave the meeting:
When finished, click Leave.
Schedule Meeting
17. Scheduling a Meeting:
- Click Schedule meeting. A dialog box will open where you can enter meeting details.

18. Entering the Meeting Title:
- Enter the title in the Enter title field.

19. Selecting the Calendar:
- Select the calendar (Google, Outlook, or Microsoft 365) from the dropdown.

20. Setting Up Recurring Meetings:
- Check the Recurring event box for recurring meetings.
Note: Non-recurring event rooms expire two weeks after the selected end date.

21. Setting the Date and Time:
- Enter the date and time, then click Schedule Meeting.

22. Copying Meeting Details:
- Click Copy Meeting Info to copy the meeting details and send to recipients.

23. Adding Meeting to Calendar:
- Click Add to Calendar to add the meeting details to your selected calendar.
