
This guide provides step-by-step instructions on how to manage scheduled reports within the Omnia Admin Portal.
Alert: Access to this Report:
- Access to this report is based on your user role. You may not be able to access and view a specific report and all of its features if your role does not permit it.
Accessing Scheduled Reports
1. Navigate to Scheduled Reports:
- Go to the Admin Portal and sign in.
- Click the Reports tab to expand it, then select Scheduled Reports.

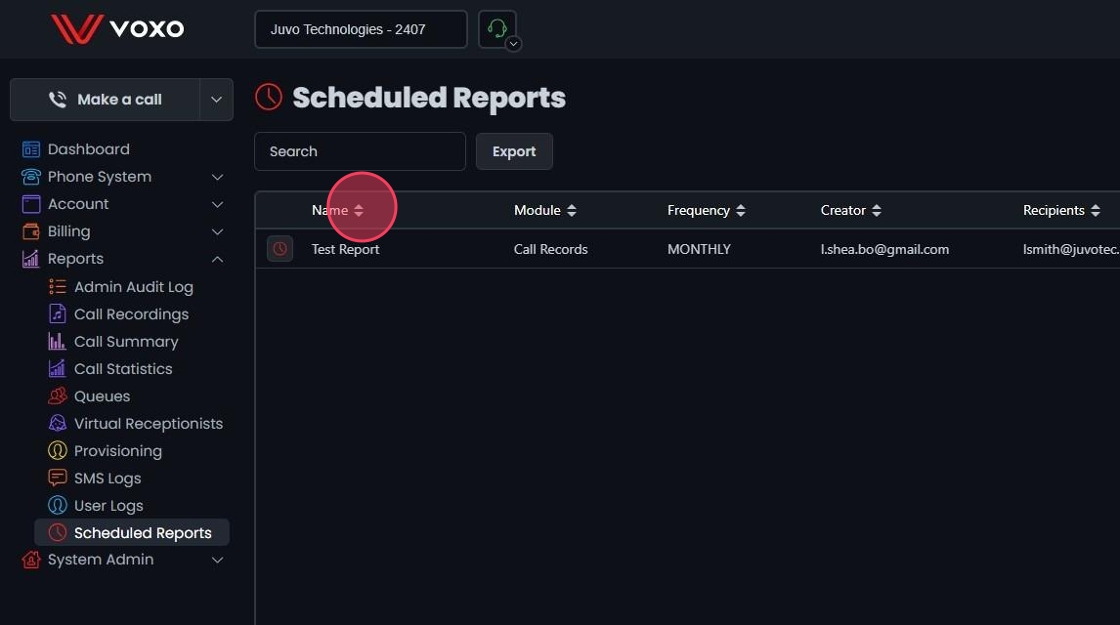
View Scheduled Reports
2. View Scheduled Reports:
- The table displays the following columns:
- Name: The name of the scheduled report.
- Module: The report module (e.g., Call Records, Queue Summary, Agent Activity, Queue Log).
- Frequency: How often the report is sent (e.g., Daily, Weekly, Monthly).
- Creator: The email address of the report creator.
- Recipients: The email addresses of the report recipients.
- Click on the column headers to sort the reports by that column.
Editing a Scheduled Report
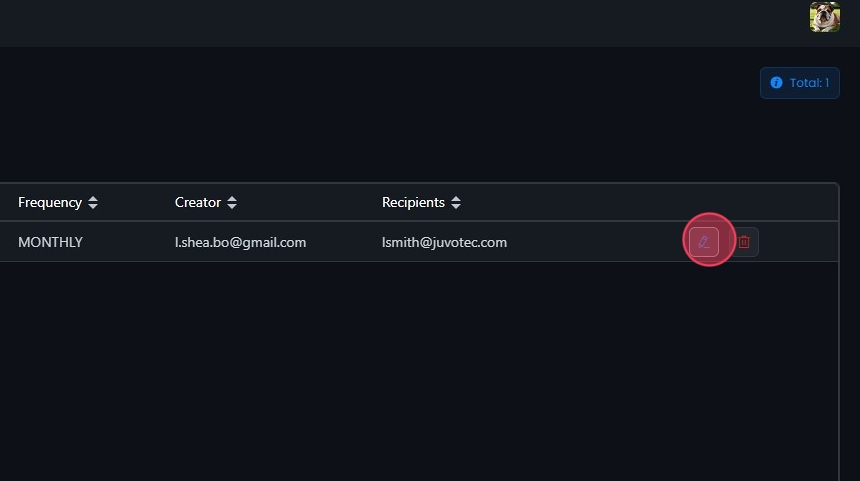
3. Edit a Scheduled Report:
- Click the Edit button next to the scheduled report you want to edit or click directly on the report.
4. Update Report Settings:
-
When you select a scheduled report, you can modify the report name, frequency, recipients, and enable/disable the report as needed.
-
The current settings are displayed for:
- Name: The name of the scheduled report.
- Frequency: How often the report is sent.
- Recipients: The email addresses of the report recipients.
- Module: The report module.
- Creator Email: The email address of the report creator.
- Filters: The filters applied to the report.
-
Click Save to apply any changes.

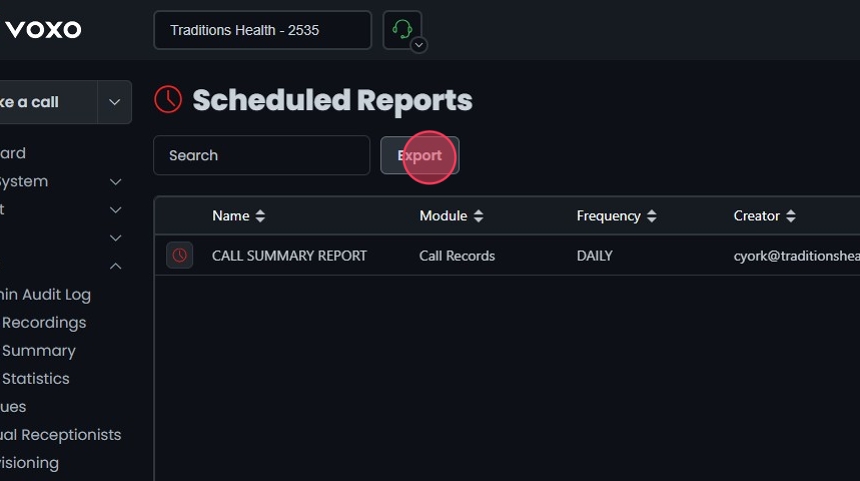
Exporting Scheduled Reports
5. - Click Export to download a list of Scheduled Reports in CSV format.
Deleting a Scheduled Report
6. Delete a Scheduled Report:
- Click the delete icon (trash can) next to the scheduled report you want to remove.
- Confirm the deletion in the prompt that appears.
