This guide provides step-by-step instructions for getting started with the Omnia Admin Portal. It includes logging in, switching between user and admin panels, changing passwords, managing multiple accounts, and using features like show relations, audit logs, sorting items, and viewing total count information. Designed to help administrators navigate the Omnia Admin Portal smoothly.
Alert: This document applies to the following user roles within Omnia:
- Account Administrator
- Partner Administrator
Email Invitation
1. Email Invitation Details:
You will receive an email invitation with the following details:
- Extension Number: Your unique extension identifier.
- Login Information: Includes your Username and Password.
- Omnia Desktop URL: The link to access the Omnia Desktop Experience.
- QR Code: Scan it with your mobile device for automatic login to the mobile app.
- Quick Dial Chrome Plugin: A link to install this plugin for easy dialing from websites through the Omnia portal.
- Support: A direct link to email support for any questions or issues.

Logging In
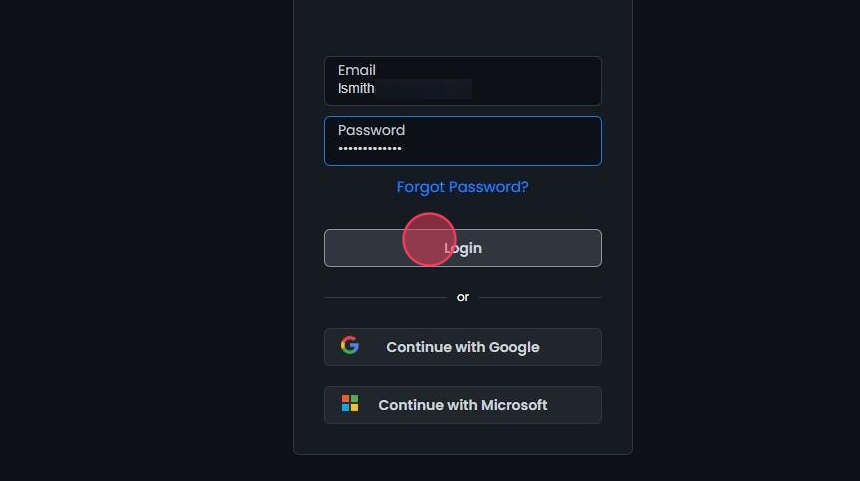
2. Standard Login:
- Go to the Admin Portal and sign in.
- Enter the username and password from your email invitation.
- Click on Login to access your account.
3. Login with Microsoft Account:
- Go to the Admin Portal and sign in.
- Click on Continue with Microsoft to log in using your Microsoft account.

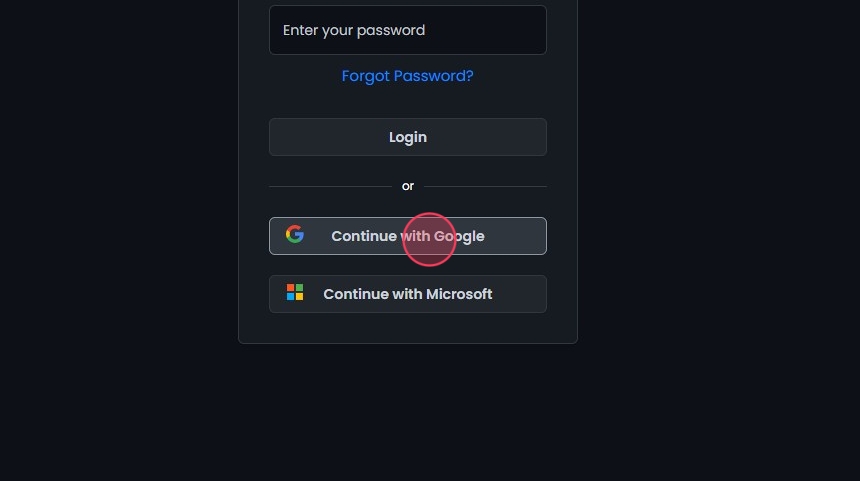
4. Login with Google Account:
- Go to the Admin Portal and sign in.
- Click on Continue with Google to log in using your Google account.
Tip: We recommend changing your password after your initial login for enhanced security. Follow these steps:
- Log in using the username and password provided in your email invitation.
- Navigate to your Profile, then Settings, and click on My Profile.
- Select Reset Password to create a new password.
Switching Between User Panel and Admin Portal
5. Navigate to the Admin Portal:
- Click the Go to admin button at the bottom of the user panel menu.

6. Navigate to the User Panel:
- Click the Go to user panel button at the bottom of the admin panel menu.

Switching Between Accounts
7. Locate the Account Dropdown:
If you are an admin assigned to multiple accounts or a partner admin, you can quickly find and switch between accounts to manage by typing keywords or account numbers.
- At the top of the screen, locate the dropdown menu showing the current account name.

8. Open the Dropdown Menu:
- Click on the current account name to open the dropdown menu.
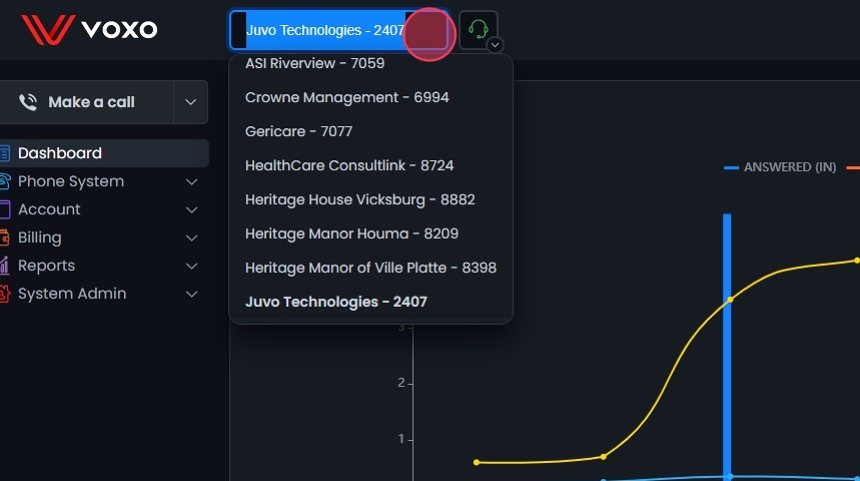
9. Select the Desired Account:
- Scroll through the list of available accounts.
- Click on the account name you wish to manage.

10. Type Keywords or Account Number:
- Start typing the name or account number in the search field.

11. Select the Desired Account:
- Once the desired account appears in the dropdown list, click on it to select.

Relations and Audit Trail
12. Show Relations:
- Helps administrators identify linked elements within the system.
- For example, you can click into an extension and see related phone numbers, call groups, call queues, etc.
- How to Access: Click the Show Relations button when editing an element like an extension.
- This feature is available throughout the portal in areas such as Call Queues, Voicemails, and more. If you see this icon while editing an item, click it to view related elements.

13. Show Audit Logs:
- Allows administrators to see changes made by previous administrators, providing transparency and accountability.
- View the update time, email of the user who made the update, and the action taken.
- Click the Show Audit Logs button to view the update history of an element like an extension.
- Displays the last 10 days of activity.
- Click Export to export the log.
- Available throughout the portal in areas such as Call Queues, Voicemails, and more. If you see this icon while editing an item, click it to view the Audit Logs.

Sort Items
14. Sort Items:
- Click the sort icons next to column headers to arrange items in ascending or descending order.
- This feature is available throughout the portal for various elements.

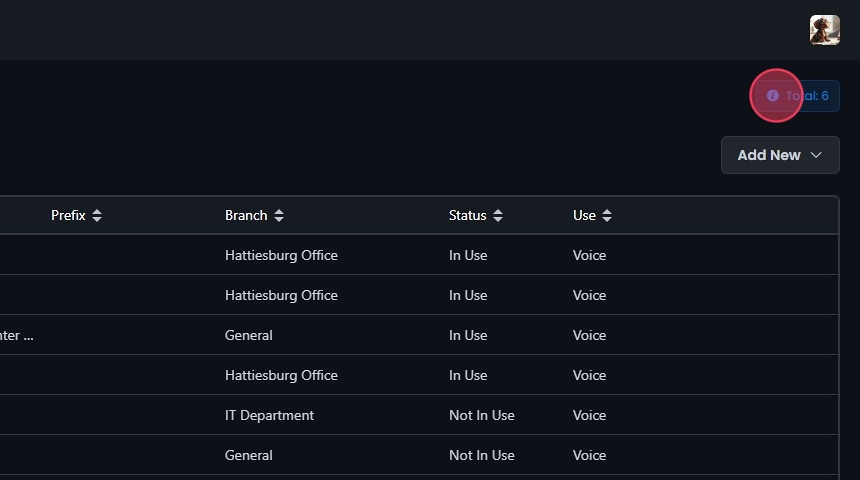
Total Count Information
15. Total Count:
- This icon provides the total count of items in a list, such as call queues, phone numbers, etc.
- The count displayed helps admins quickly see the number of items they are managing.
- This feature is available throughout the portal.
Subscribe to the Status Page
16. Status Page:
- Stay updated with the latest information on VOXO services and incidents by subscribing to the status page:
- Visit the VOXO Status Page: Go to VOXO Status.
- Subscribe to Updates: Click on the Subscribe to Updates button at the top right corner of the page.
- Choose Your Subscription Method: Select how you want to receive updates (Email, Slack, Atom Feed, or RSS feed).
- Confirm Subscription: Follow the prompts to confirm your subscription.

17. VOXO Website:
- For more details about VOXO products and support, visit the VOXO Website.
- Important Links: