Call queues handle incoming calls by holding them until an agent is available. This guide details how to access and configure call queues, including adding new queues, setting general and timeout destinations, managing conditional routing and notifications, and configuring media and agent settings. It also covers how to edit, delete, search, and sort call queues.
Alert: This document applies to the following user roles within Omnia:
- Account Administrator
- Partner Administrator
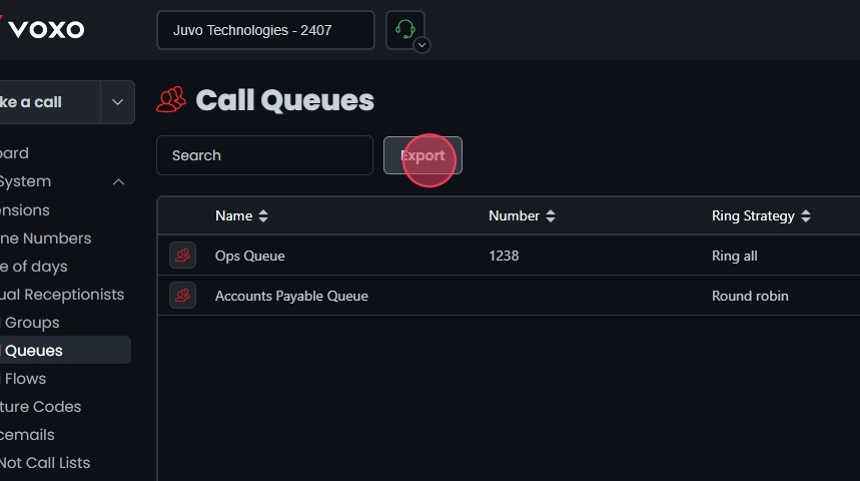
Accessing Call Queues
1. Navigate to Call Queues:
-
Go to the Admin Portal and sign in.
-
Click the Phone System tab to expand it, then select Call Queues.

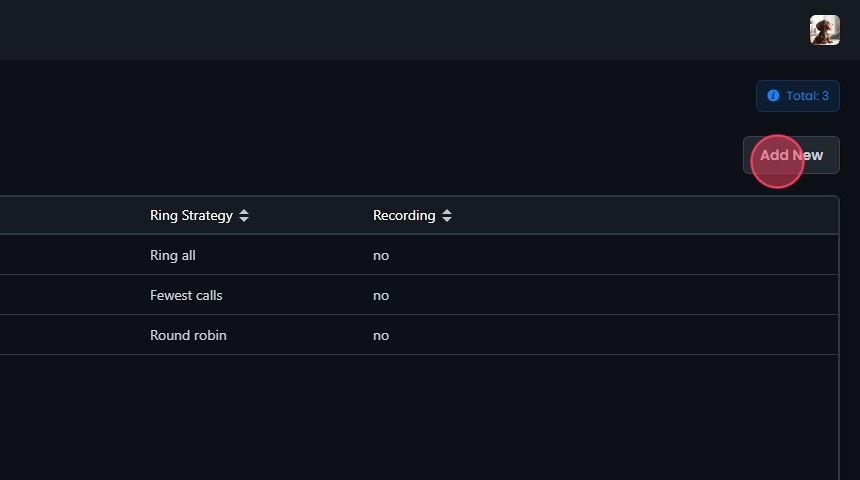
Adding a new Call Queue
2. Add a Call Queue:
- Click on the Add New button.
- Fill in the required details under the General tab.
Configuring Call Queues
3. General Settings:
- Enable recording: Check this box to enable call recording.
- Name: Provide a name for the call queue.
- Number: Assign a unique number to the call queue.
- Select ring strategy: Choose a ring strategy from the dropdown list:
- Fewest calls: Rings the agent with the fewest answered calls.
- Linear: Rings agents in a fixed order.
- Random: Rings agents in a random order.
- Ring all: Rings all agents simultaneously.
- Round robin: Rings agents in a circular order.
- Timeout (seconds): Set the duration after which the call will timeout.
- Branch (Optional): Select the branch associated with this queue.
- Select max queue length: Set the maximum number of callers waiting in the queue.

Timeout and Queue Full Destinations
4. Configure Destinations:
- Timeout destinations: Select the destination type and specific destination for calls that timeout.
- If queue is full: Select the destination type and specific destination for calls when the queue is full.
- Add a destination: Click to configure multiple destinations. Note that this button will only appear based on the selected destination type.
- Reorder: Use to reorder destinations by clicking and dragging.
- Delete: Click to remove a destination.

Configuring Conditional Routing
5. Enable Redirecting Call if No Agents are Available:
- Enable redirecting call if no agents are available: Check this box to enable redirection when no agents are available to service a call.
- If no agents are available: Select the destination type and specific destination.
- Destination Type: Choose from options like Voicemail, Call Group, Another Queue, etc.
- Specific Destination: Enter or select the specific destination based on the type chosen.
- If no agents are available: Select the destination type and specific destination.

6. Enable Redirecting Call if All Agents are Busy:
- Enable redirecting call if all agents are busy: Check this box to enable redirection when all agents are busy.
- If all agents are busy: Select the destination type and specific destination.
- Destination Type: Choose from options like Voicemail, Call Flow, Another Queue, etc.
- Specific Destination: Enter or select the specific destination based on the type chosen.
- If all agents are busy: Select the destination type and specific destination.

Abandoned Call Notifications
7. Enable Notifications:
- Enable abandoned call notifications: Check this box to receive notifications.
- Notify abandon email: Enter the email address to receive notifications.

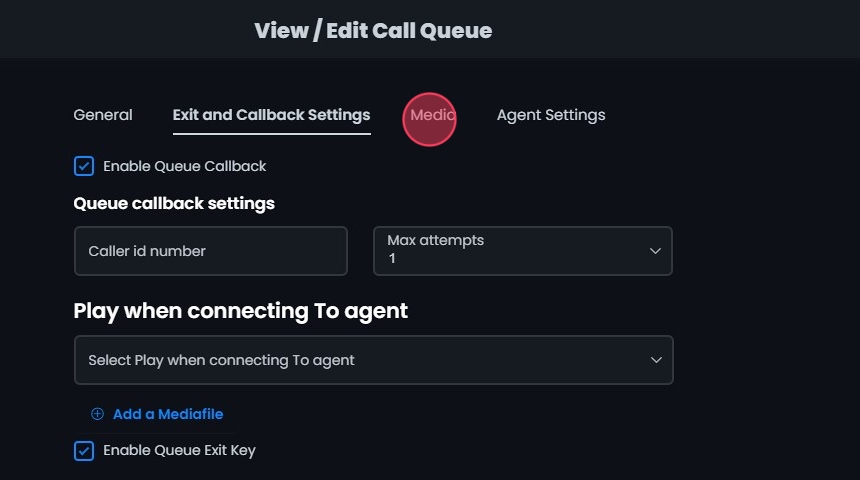
Exit and Callback Settings
8. Open Exit and Callback Settings:
-
Click the Exit and Callback Settings tab to open the settings for the call queue.
-
Check the box to enable queue callback.

9. Queue Callback Settings:
- Caller ID number: Choose the number from the dropdown that will appear as the caller ID.
- Max attempts: Set the maximum number of callback attempts.

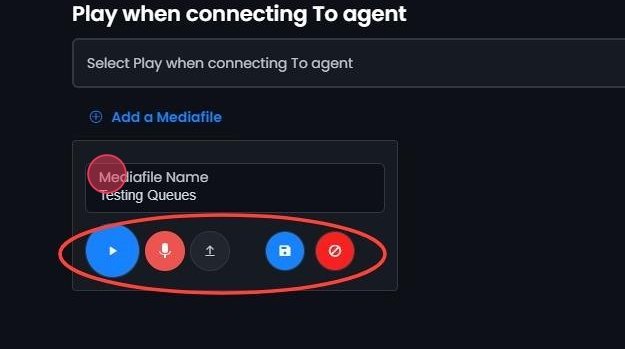
Play When Connecting to Agent
10. Play When Connecting to Agent:
- Configure media settings to play a specific message when connecting a caller to an agent.
- Use the dropdown to pick from an existing media file or record a new one.
- Click the Preview media button to listen and preview the message.
- Click X to remove the selected message.

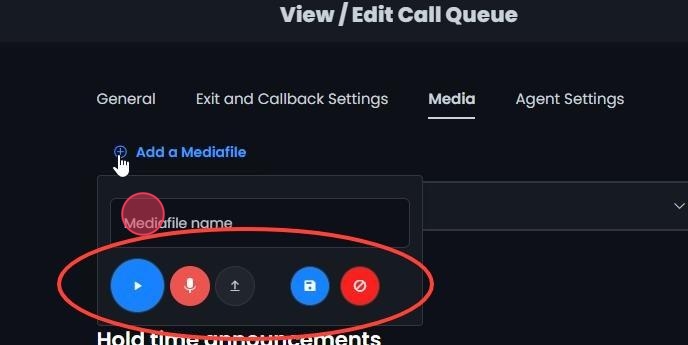
11. Add a New Media File:
- Click Add a Mediafile to record or upload a new media file if needed.
- Use the controls to record or upload the media file. This will open additional options.

12. Additional Options:
- Playback: Click to play the media file.
- Press and Hold To Record: Click and hold to record a message.
- Upload File: Click to add an existing audio file.
- Cancel Changes: Click revert to previous settings.
- Enter a name: Type the name in the Mediafile Name field before saving.
- Save Changes: Click to save the recorded or uploaded file. This media file will now be available to choose from and select in the dropdowns.
Enabling and Configuring Exit Key
13. Enabling and Configuring Exit Key:
- Enable Queue Exit Key: Check the box labeled Enable Queue Exit Key.
- Select Exit Key: Under Exit key settings, click the dropdown menu labeled Exit key.
- Select the desired exit key from the available options (0-9).

Configuring Exit Key Destination
14. Configure Exit Key Destination:
- After selecting the exit key, configure the destination for calls that use the exit key.
- Destination Type: Choose from options like Voicemail, Custom, Another Queue, etc.
- Specific Destination: Enter or select the specific destination based on the type chosen.

Media Settings
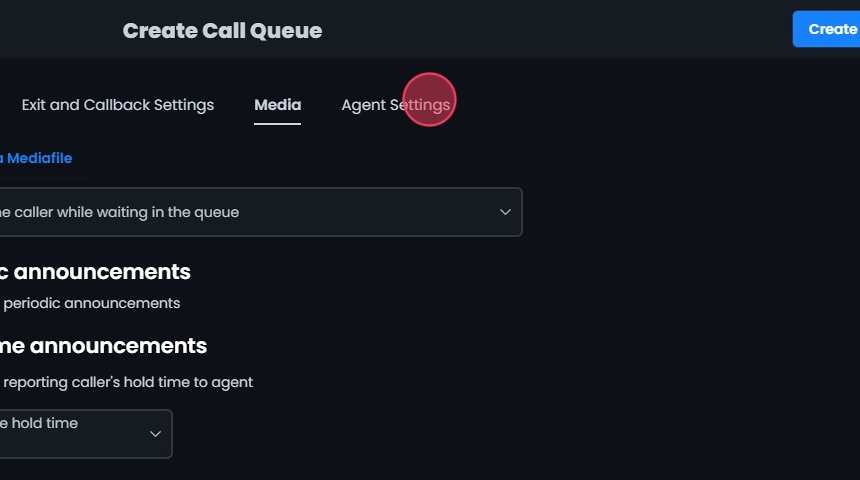
15. Access Media Tab:
- Click the Media tab to open the media settings for the call queue.
16. Add a Media File:
- Click Add a Mediafile to record or upload a new media file if needed. Use the controls to record or upload the media file. This will open additional options.

17. Additional Options:
- Playback: Click to play the media file.
- Press and Hold To Record: Click and hold to record a message.
- Upload File: Click to add an existing audio file.
- Cancel Changes: Click to revert to previous settings.
- Enter a name: Type the name in the Mediafile name field before saving.
- Save Changes: Click to save the recorded or uploaded file. This media file will now be available to choose from and select in the dropdowns.
18. Play to the caller while waiting in the queue:
- Use the dropdown menu to select what will be played to the caller while they are waiting in the queue.
- Options:
- Music on hold: Plays music while the caller waits.
- Ringing: Plays a ringing sound while the caller waits.
- Music on hold, then ringing: Plays music initially and then switches to a ringing sound.

Setting Up Periodic Announcements
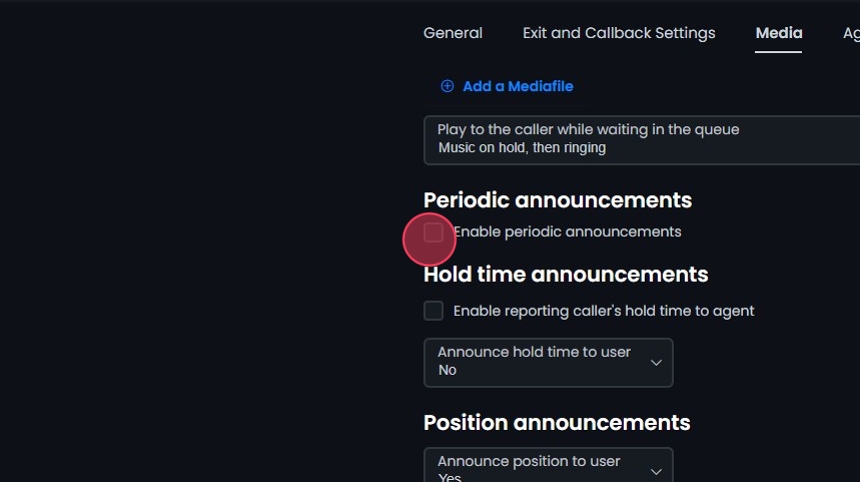
19. Enable periodic announcements:
- Check the box labeled Enable periodic announcements.
20. Set Frequency:
- Use the dropdown menu next to Frequency to select how often the announcements should be made.

21. Select Periodic Announce Message:
- Click on the dropdown menu under Periodic Announce Message and choose the message you want to be periodically announced.
- Click the Preview media button to listen and preview the message, or click X to remove.

Hold Time Announcements
22. Enable reporting caller's hold time to agent:
- Check the box labeled Enable reporting caller's hold time to agent.
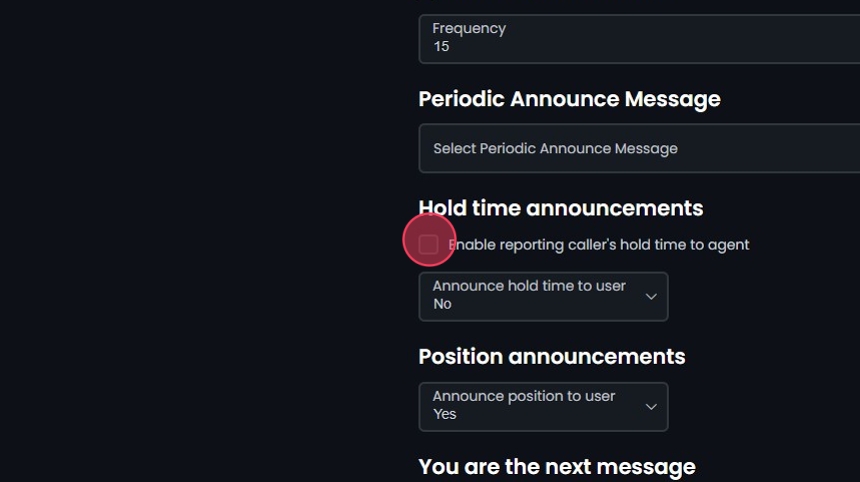
23. - Announce hold time to user:
- Use the dropdown menu next to Announce hold time to user to select whether and how the hold time should be announced to the caller.
- Options:
- No: Do not announce hold time to the caller.
- Yes: Announce hold time to the caller continuously.
- Once: Announce hold time to the caller once.

24. Select Estimated Hold Time Message:
- If you select Yes or Once for announcing hold time to the user, the Est hold time message option becomes available.
- Click on the dropdown menu under Est hold time message and choose the message to be announced regarding the estimated hold time.
- Click the Preview media button to listen and preview the message, or click X to remove.

Setting Up Position Announcements
25. Announce position:
- Use the dropdown menu next to Announce position to select whether and how the caller's position in the queue should be announced.
- Options:
- No: Do not announce the position.
- Yes: Announce the position.
- If less than: Announce the position if it is less than a specified number. Enter limit in the enter limit field.
- No more than: Announce the position if it is no more than a specified number. Enter limit in the enter limit field.

26. Position Announcement Messages:
- You are the next message:
- Select the message to be announced when the caller is next in line.
- There are message:
- Select the message to be announced when there are other callers ahead in the queue.
- Calls waiting message:
- Select the message to be announced when there are multiple calls waiting.
- Thank you message:
- Select the thank you message to be played to the caller.
- Click the Preview media button to listen and preview the messages, or click X to remove.

27. Hold and position announcement frequency:
- Use the dropdown menu next to Announce frequency to select how often the hold and position announcements should be made.
- Options:
- 0: No announcements.
- Other values: Frequency in minutes (e.g., 5, 10, 15).

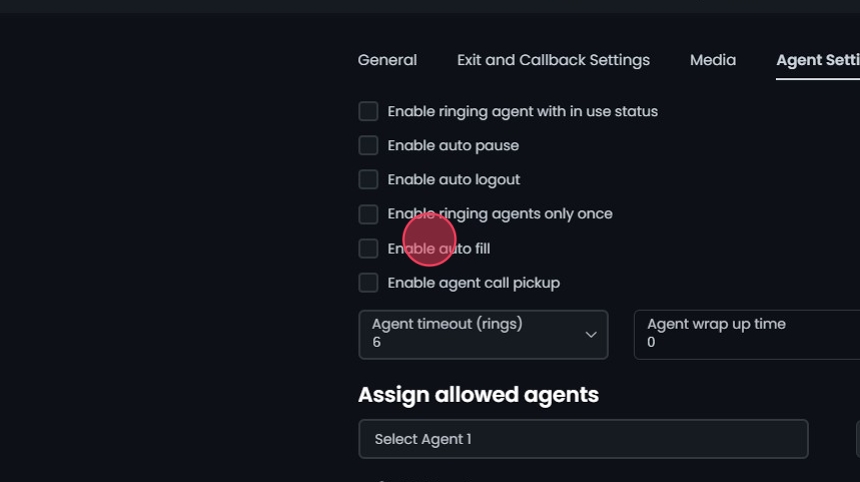
Agent Settings
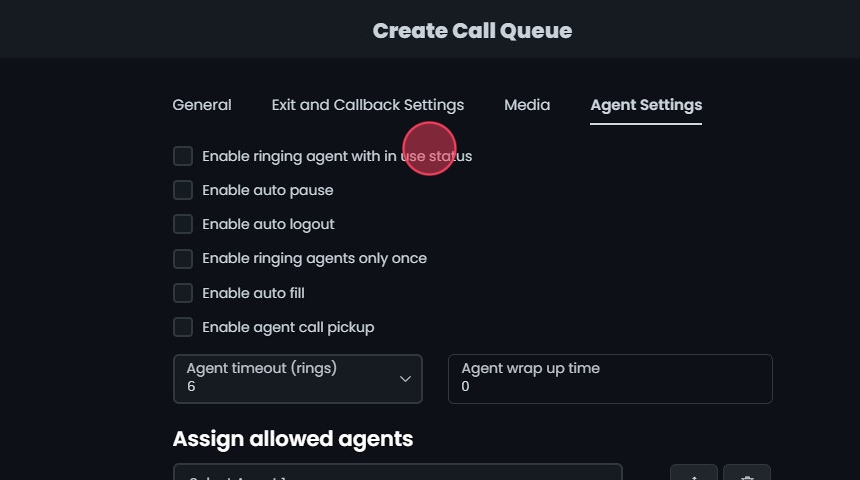
28. Access Agent Settings:
- Click the Agent Settings tab to open the agent settings for the call queue.
29. Enable ringing agent with in use status:
- Check the box labeled Enable ringing agent with in use status.
- Allows agents to receive calls even when their status is "in use."
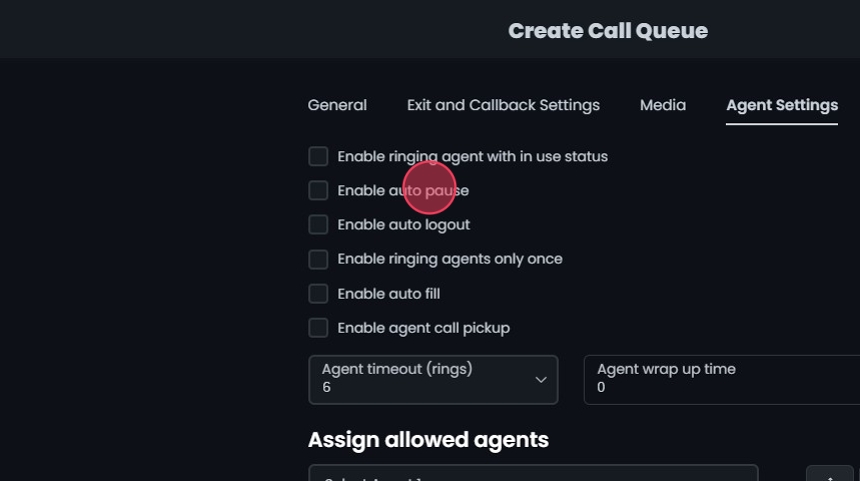
30. Enable auto pause
- Check the box labeled Enable auto pause.
- Automatically pauses agents after a call to give them time to wrap up.
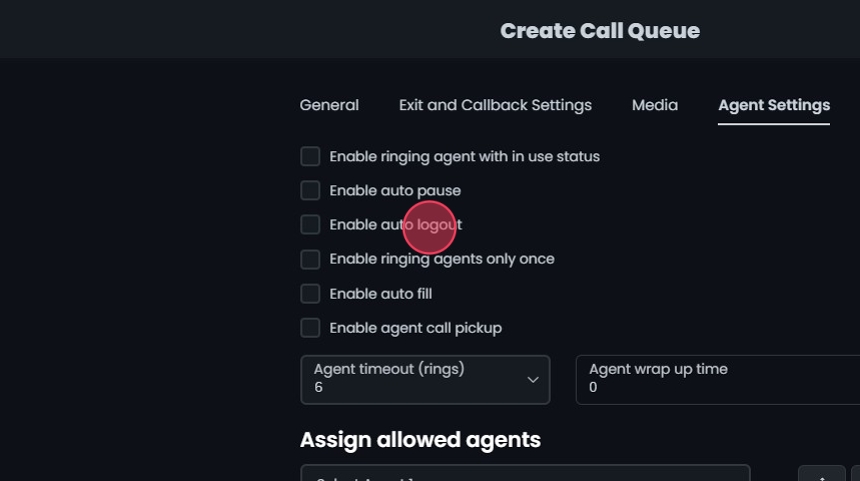
31. Enable auto logout:
- Check the box labeled Enable auto logout.
- Automatically logs out agents after a specified period of inactivity.
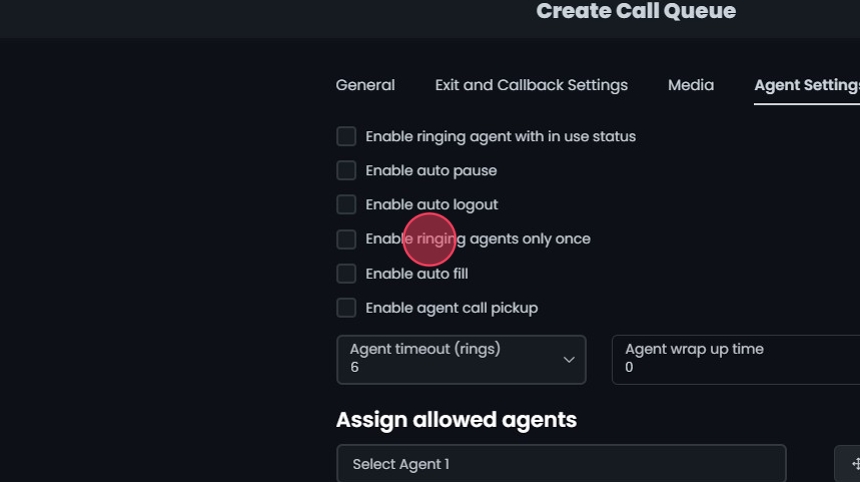
32. Enable ringing agents only once:
- Check the box labeled Enable ringing agents only once.
- Rings each agent only once for a call.
33. Enable auto fill:
- Check the box labeled Enable auto fill.
- Automatically assigns available agents to calls.
34. Enable agent call pickup:
- Check the box labeled Enable agent call pickup.
- Allows agents to pick up calls from other agents.
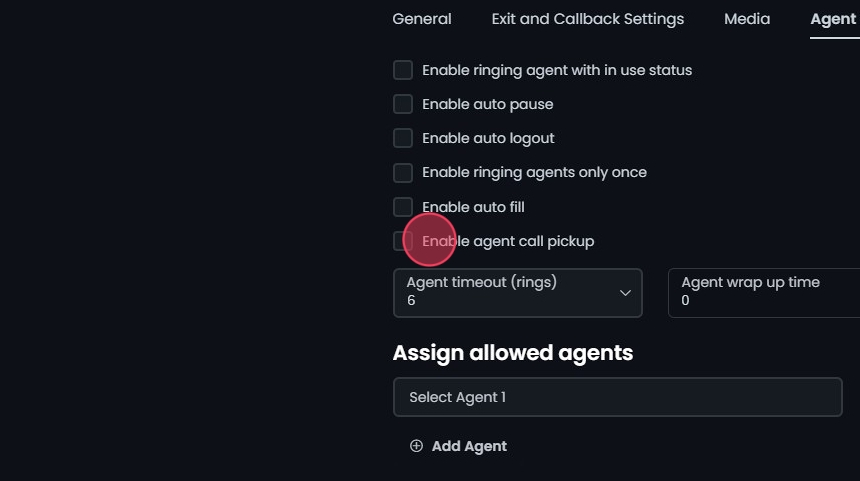
35. Set Agent Timeout (rings):
- Use the dropdown menu next to Agent timeout (rings) to select the number of rings before timeout.
- Options: Various options (e.g., 6 rings).
- Defines how many rings before the call is redirected.
Set Agent Wrap Up Time:
- Enter the desired time in the Agent wrap up time field (in seconds).

Assign Allowed Agents
36. Assign Allowed Agents:
- Click on the dropdown menu under Assign allowed agents to select agents to be assigned to this queue.
- Click Add Agent to include additional agents.
- Order of Destinations: If using the "Linear" or "Round Robin" ring strategies, ensure that the order of the agents reflects the desired call routing sequence.
- Reorder: Click and drag to change the order of the items in the list.
- Remove Agent: Click to remove an agent from the list.

Create and Save
37. Create and Save
- Click Create and then Yes to confirm and save the Call Queue.

Editing Existing Call Queues
38. Edit an Existing Call Queues:
- Click on the call queue you want to edit or click the Edit button next to it.
- Make your edits.
- Click Save.
- Click Yes to confirm and save your changes.

Deleting a Call Queue
39. Delete a Call Queue:
- Click Delete next to the Call Queue.
- Click Yes to confirm the deletion.

Search and Sort
40. Search for a Call Queue:
- Search Bar: Quickly find specific items by typing the name or a keyword in the search field. The system will filter the list based on your search input, displaying the relevant results.
- Sort: Click the sort icons next to the column headers to arrange items in ascending or descending order.

Exporting Call Queues
41. Export:
- Export Button: Click the Export button next to the search field.
- The system will download a list of the items in CSV format.