
This guide provides step-by-step instructions on how to navigate and use the Billing Dashboard within the Omnia Admin Portal.
Alert: This document applies to the following user roles within Omnia:
- Partner Administrator
- Account Administrator
Accessing the Billing Dashboard
1. Navigate to the Billing Dashboard:
- Go to the Admin Portal and sign in.
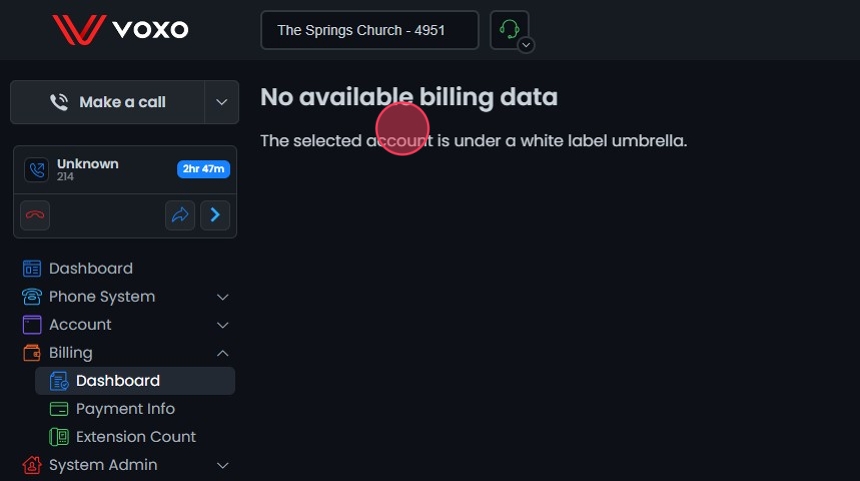
- Click the Billing tab to expand it, then select Dashboard.

Billing Access Overview
2. Account Admins:
- For accounts under a white label umbrella, Account Administrators can only access Extension Count for the accounts they have access to.
- For accounts not under a white label umbrella, Account Administrators can view the Dashboard, Payment Info, and Extension Count for the accounts they have access to.
Billing Activity
3. Billing Activity Chart:
- The Billing Activity chart provides a visual representation of various billing components over time.
- Each bar represents the monthly count and cost of different services, such as Extensions, SIP Trunks, Faxes, Toll Free Minutes, International Minutes, and Residential Seats.
- The green line shows the Cost Per Month trend over time.
Tooltip Details:
- Hovering over any bar in the chart will display a tooltip with detailed information for that month, including:
- Cost Per Month (Green)
- Extensions count (Blue)
- SIP Trunks count (Orange)
- Faxes count (Pink)
- Toll Free Minutes count (Lavender)
- International Minutes count (Purple)
- Residential Seats count (Red)
Balance:
- The current balance is displayed in the top right corner of the chart.

Account Details (Partner Only)
4. Account Details Tab:
- In the Dashboard section, navigate to the Account Details tab to view detailed billing information for each account.
- Search Name: Use the search bar to filter accounts by name.
- Month Filter: Select the billing month from the dropdown menu.
- Export Button: Click to export the billing details for all accounts into a CSV file.
- The table displays the following columns:
- Account: The name of the account.
- Billing Code: The billing code associated with the account.
- Extensions: The number of extensions associated with the account.
- Faxes: The number of faxes associated with the account.
- SIP Trunks: The number of SIP trunks associated with the account.
- Phone Numbers: The number of phone numbers associated with the account.
- Interstate In: The count of interstate inbound calls.
- Interstate Out: The count of interstate outbound calls.
- Intrastate In: The count of intrastate inbound calls.
- Intrastate Out: The count of intrastate outbound calls.
- Toll-Free Mins: The number of toll-free minutes used.
- Interstate In Minutes: The number of minutes for interstate inbound calls.
- Interstate Out Minutes: The number of minutes for interstate outbound calls.
- Intrastate In Minutes: The number of minutes for intrastate inbound calls.
- Intrastate Out Minutes: The number of minutes for intrastate outbound calls.
- International Minutes: The number of international call minutes.
- Each column header can be clicked to sort the accounts based on that particular column.

Viewing Invoices
5. Invoices:
- The tab displays a list of invoices with the following details:
- Date: The date the invoice was issued.
- Invoice #: The unique identifier for the invoice.
- Total: The total amount of the invoice.
- Total W/ Tax: The total amount of the invoice including tax.
Features in the Invoices Tab:
- Sort Columns: Click the column headers to sort the invoices in ascending or descending order.
- Expand Invoice Details: Click the list button next to an invoice to view detailed information.
- Download Invoice: Click the Download Invoice button to download the invoice.
- Export: Click the Export button to download a list of all invoices into a CSV file.

Partner Inventory (Partner Only)
6. Partner Inventory Tab:
- In the Dashboard section, navigate to the Partner Inventory tab to view detailed inventory information for all accounts under partner accounts.
- Month Filter: Select the billing month from the dropdown menu.
- Export Button: Click to export the inventory details for all accounts into a CSV file.
- The table displays the following columns:
- Billing Code: The billing code associated with the account.
- Account Name: The name of the account.
- Extension Number: The number of the extension.
- Extension Name: The name assigned to the extension.
- Extension Caller ID: The caller ID associated with the extension.
- Phone MAC: The MAC address of the phone associated with the extension.
- Phone Name: The name assigned to the phone.
- Phone Model: The model of the phone.
- e911 Location: The e911 location assigned to the extension.
- Each column header can be clicked to sort the accounts based on that particular column.
