
10DLC (10-digit long code) messaging campaigns are designed for business messaging over standard 10-digit phone numbers. They provide a trusted and reliable method for businesses to communicate with customers via SMS. This guide provides step-by-step instructions on how to create, view, and edit 10DLC messaging campaigns within the Omnia Admin Portal.
Alert: This document applies to the following user roles within Omnia:
- Account Administrator
- Partner Administrator
Accessing 10DLC Messaging
1. Navigate to 10DLC Messaging:
-
Go to the Admin Portal and sign in.
-
Click the Account tab to expand it, then select 10DLC Messaging.
-
Prerequisites: Ensure the SMS Brand registration process is completed for the account. For steps on how to register an SMS brand, please see this document: SMS Brand Registration.

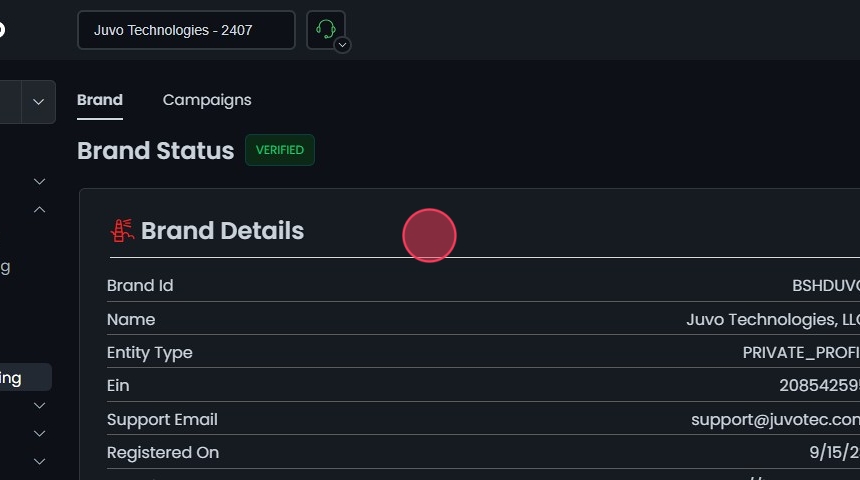
2. Navigate to the Brand Status Section:
- Click on the Brand Status tab.
- Verify that your brand status is marked as VERIFIED.

3. Viewing Brand Details:
- In the Brand Details section, you can view important information such as:
- Brand ID
- Name
- Entity Type
- EIN
- Support Email
- Registration Date
- Website
- Address
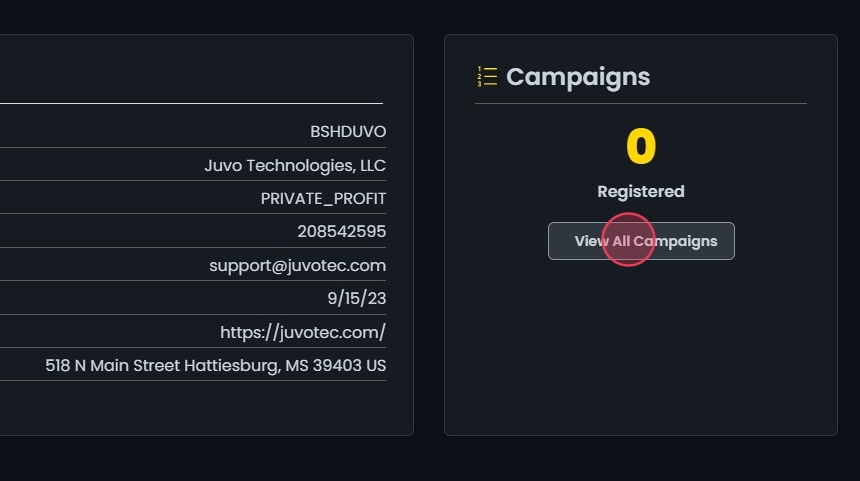
4. Managing Campaigns:
- Click on View All Campaigns under the Campaigns section.
Campaign Overview
5. #### Campaigns Tab Overview:
In the Campaigns tab, you can view and manage all your 10DLC messaging campaigns. This tab displays a list of all campaigns along with the following details:
- Campaign ID: Unique identifier for the campaign.
- Brand ID: Identifier for the brand associated with the campaign.
- Brand Name: Name of the brand associated with the campaign.
- Assigned Number Count: Number of phone numbers assigned to the campaign.
- Start Date: The date when the campaign starts.
- DCA Approved Status: Indicates if the campaign is approved by the Direct Connect Aggregator (DCA).
- TCR Status: The status of the campaign with The Campaign Registry (TCR).
You can sort the campaigns by clicking on the column headers, which have sort icons next to them.

6. #### Features in the Campaigns Tab:
-
Search: Use the search bar to quickly find a specific campaign.
-
Export: Export the list of campaigns for further analysis or reporting.

Create a Campaign
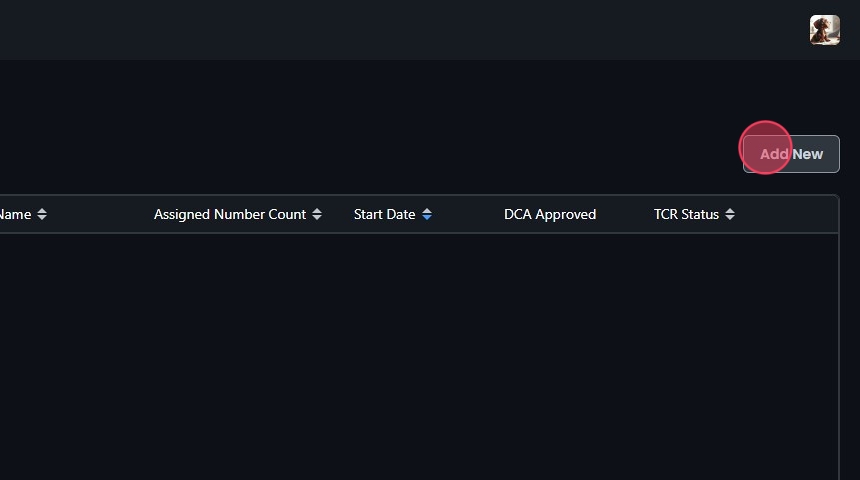
7. Add New Campaign:
- Click the Add New button in the Campaigns tab.
8. Enter Campaign Details:
- Description: Provide a description of what the campaign will be used for.
- Message Flow: Describe how a consumer opts into the campaign, ensuring the call-to-action is clear and informs the consumer of the nature of the program. List all opt-in methods if multiple methods are used.

9. Add Sample Messages:
- Sample Message 1: Provide a sample message. For example, "This is a test. Reply STOP to opt out."
- Click Add Sample Message to include additional sample messages if needed.

10. Campaign and Content Attributes:
- Opt-in Keywords: Enter keywords that consumers can text to opt-in, such as "START," "YES," "SUBSCRIBE."
- Opt-in Message: Craft an opt-in message that includes the brand name, confirmation of opt-in enrollment, help information, and how to opt-out. For example, "Juvo Technologies: Welcome! Msg & data rates may apply. Reply STOP to opt out. Reply HELP for help. Messaging frequency may vary."
- Opt-out Keywords: Enter keywords that consumers can text to opt-out, such as "STOP."
- Opt-out Message: Create an opt-out message that acknowledges the opt-out request and confirms that no further messages will be sent. For example, "Juvo Technologies: You have opted out of receiving messages from Juvo Technologies."
- Help Keywords: Enter keywords that consumers can text to get help, such as "HELP."
- Help Message: Provide a help message with additional support contact information. For example, "Juvo Technologies: Help at support@. Msg & data rates may apply. Reply HELP for help. Reply STOP to opt out."
- Manage Keywords:
- To enter new keywords, type in the field and select it from the dropdown.
- To remove a keyword, click the x button next to the keyword.

Saving the 10DLC Messaging Campaign
11. Save a 10DLC Messaging Campaign:
- Click the Create button.
- A confirmation message will appear.

Campaign Management
12. Edit a Campaign:
- Click on the campaign you want to edit or click the Edit button next to it.
- This will open the Edit Campaign screen, displaying the campaign details such as Register Date, Share Date, Use Case, and Sharing Status.
- After making the necessary edits, click Save.
- A confirmation message will appear.

13. View Campaign Numbers:
- Click the view numbers icon next to the campaign to see the list of phone numbers assigned to the campaign.
- The Phone Numbers in Campaign window will display the numbers and their provisioned dates.
- Sort: Click the sort icons next to the column headers to arrange items in ascending or descending order.

14. Delete a Campaign:
- To delete a campaign, click the delete icon next to the campaign.
- Confirm the deletion by clicking Yes in the confirmation dialog.
